

Buried Secrets and techniques is the third and closing mission of the free new questline added with the Murderer’s Creed Shadows title replace 1.1.11. It begins after finishing the Double-Crossed quest. As Naoe and Rufino head contained in the Kassandra vault cave, they should attain the Black Cross’ location. With sophisticated elevations and tough boss fights, ending the mission is usually a bit difficult. That mentioned, finishing it unlocks the brand new end-game exercise, Domains.
However, listed here are the main points on easy methods to pursue the Buried Secrets and techniques quest in Murderer’s Creed Shadows.
Buried Secrets and techniques quest in Murderer’s Creed Shadows: Walkthrough
Attain the Black Cross
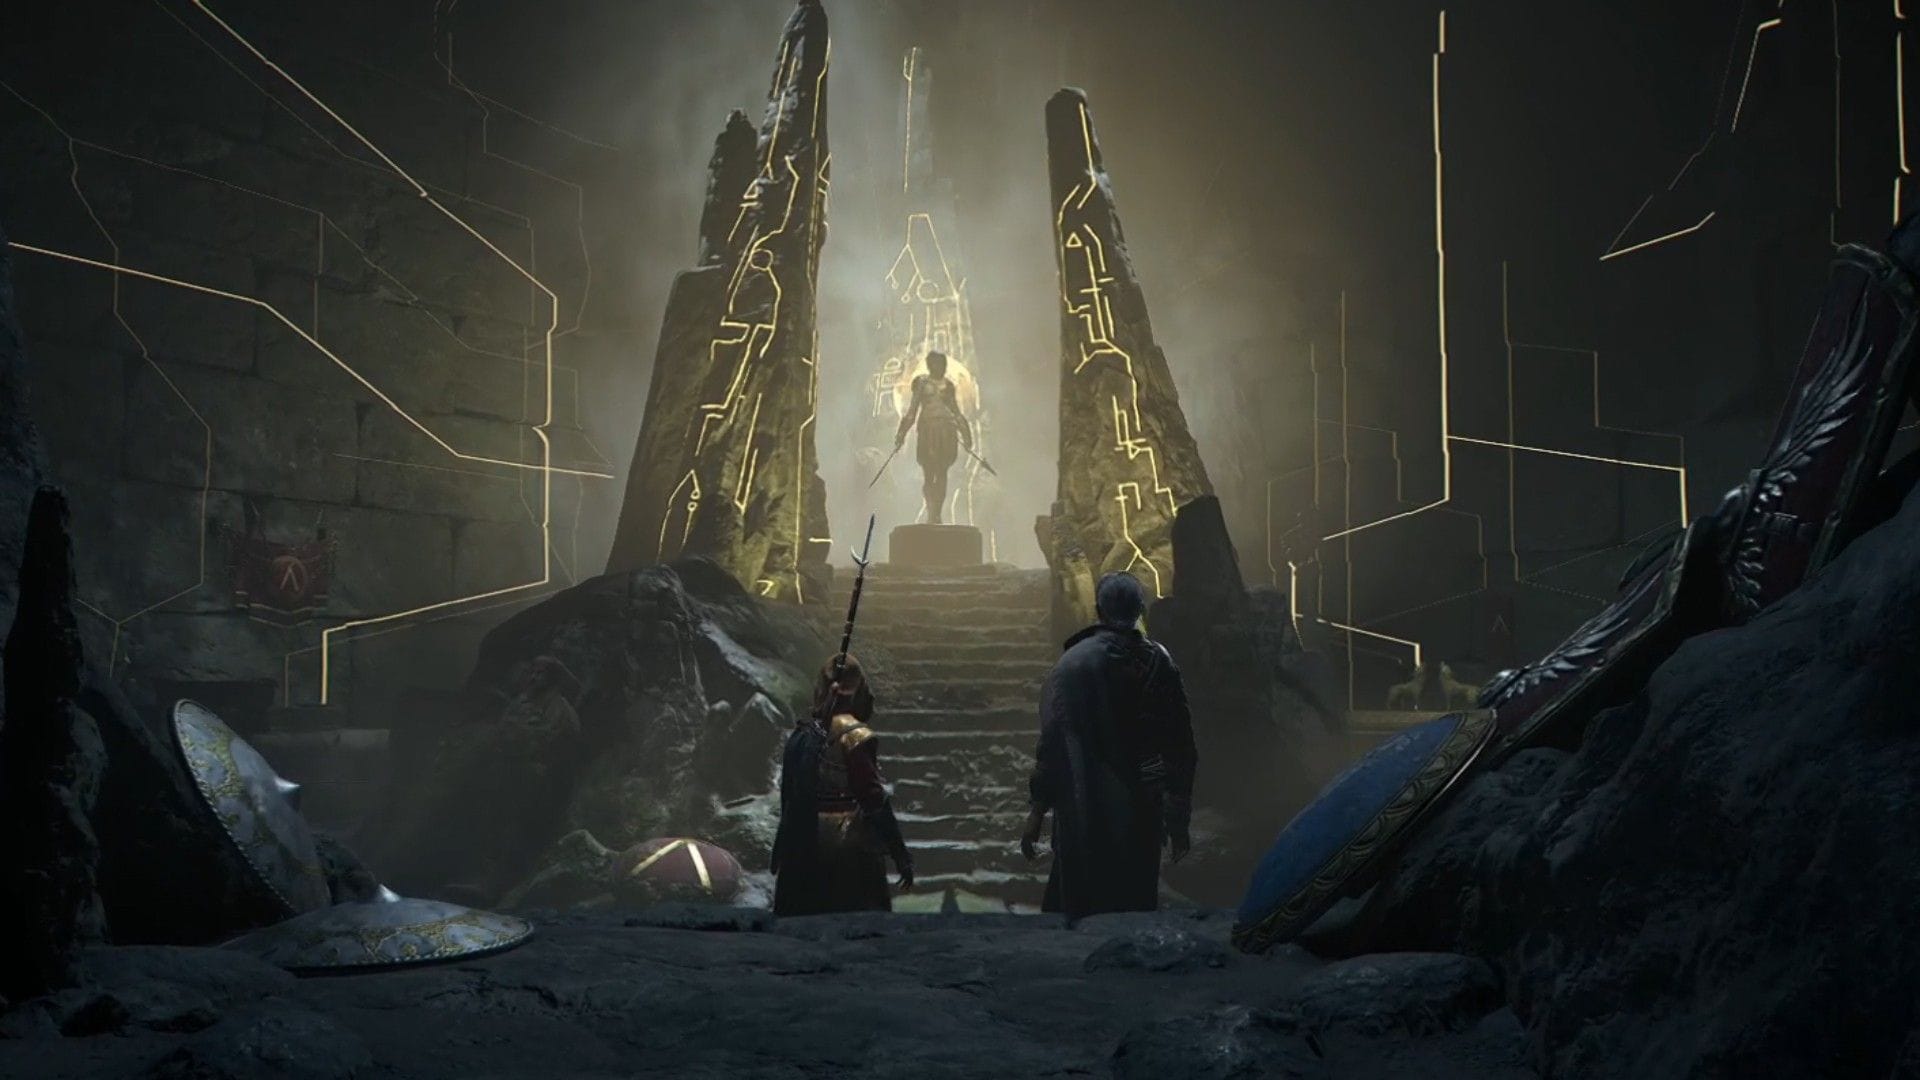
After ending each Black Tides and Double-Crossed, the Buried Secrets and techniques quest in Murderer’s Creed Shadows begins with Naoe and Rufino searching for the Black Cross contained in the Kassandra vault cave.
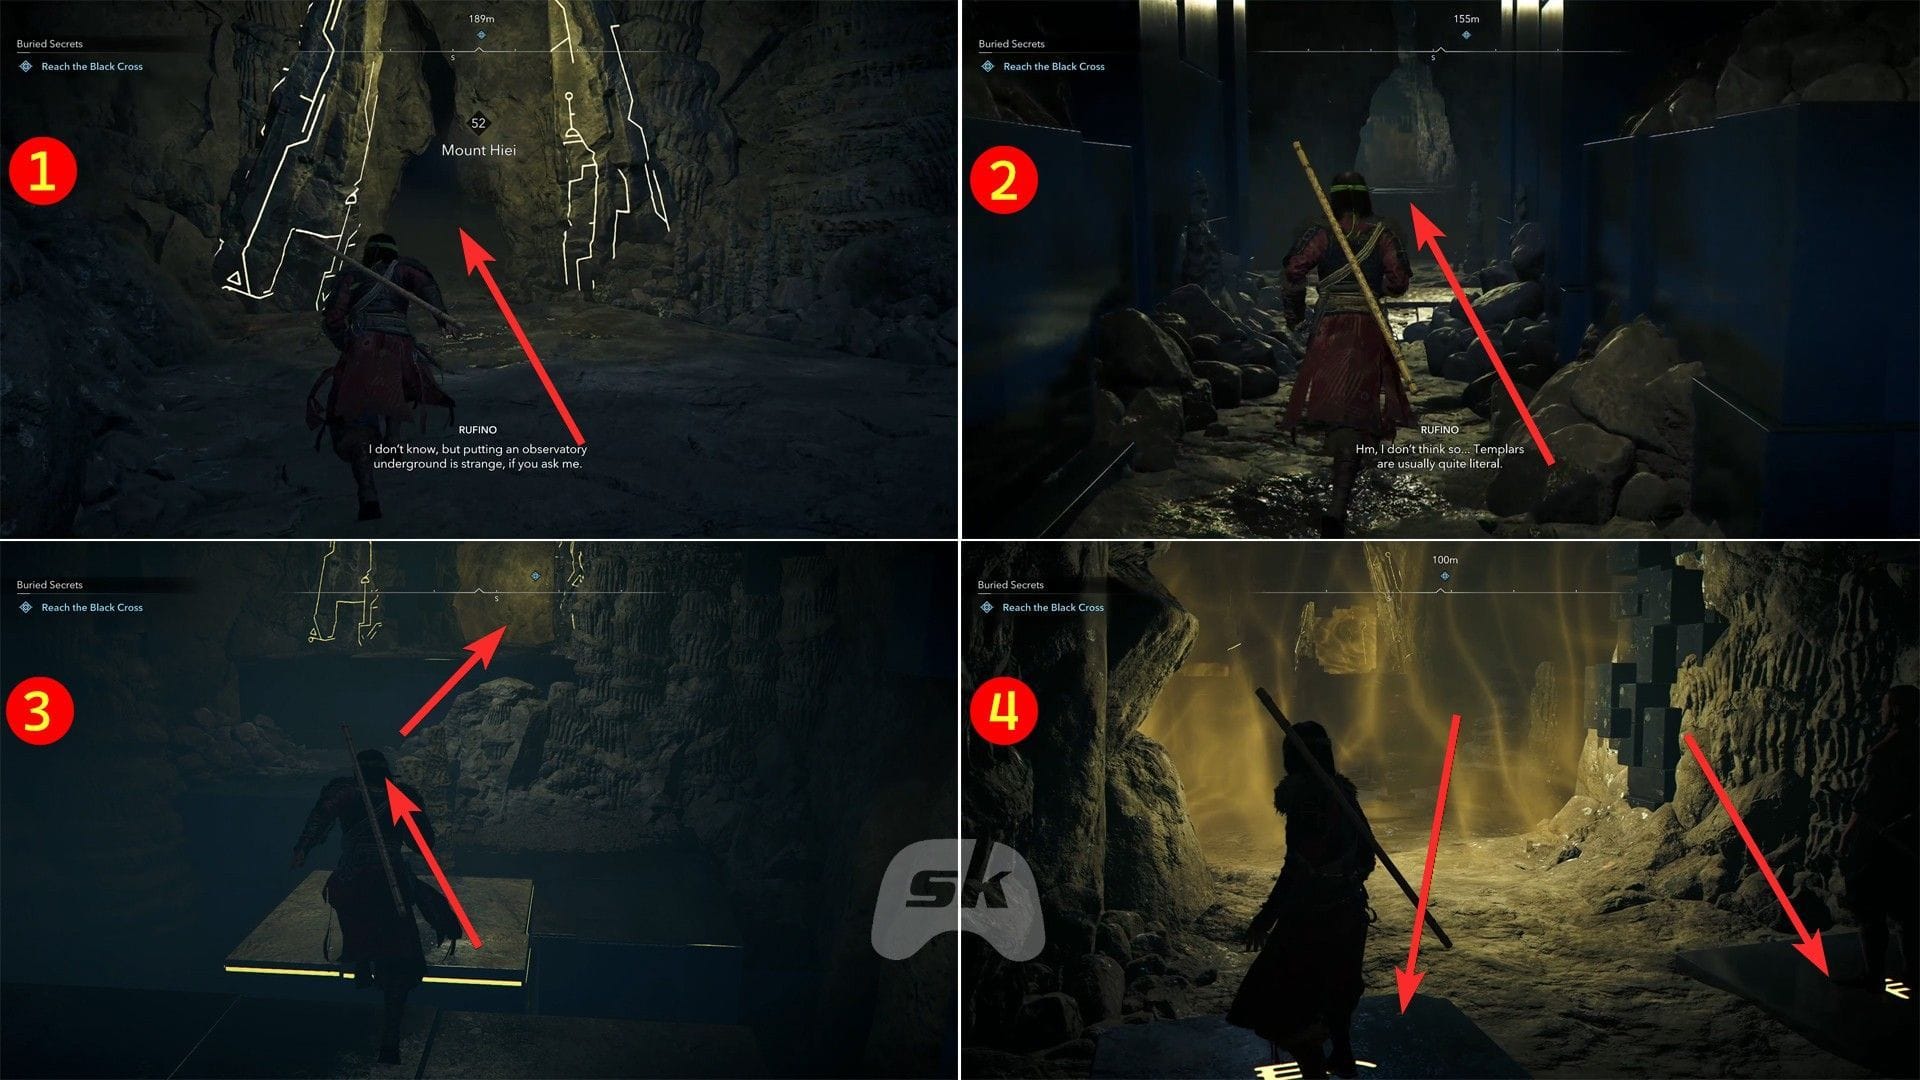
Proceed left, proceed south, and you’ll discover a blocked pathway on the finish. Look forward to Rufino to reach, then step collectively onto the glowing tiles on the bottom to open the gate.
Within the subsequent section, you’ll want to take the left path. Leap throughout the gaps to achieve a platform with one other glowing tile. Step on it to create a path for Rufino to proceed forward. Nonetheless, the door in entrance of him will probably be locked initially.
To unlock it, hold continuing to the left utilizing the ledges, soar to the other aspect’s ledge (press the soar button with none directional enter), and attain the following platform. From there, seize the ledge on the left, transfer upwards, and you’ll find a glowing tile on the prime. Step onto it to unlock the door for Rufino.
Subsequent, entry the following pathway by stepping onto the tiles collectively. After that, proceed ahead to come across Nirmala. Leap over the rock and proceed forward utilizing the covers within the space. Nonetheless, DO NOT step on the glowing tiles right here, as they are going to set off quite a few spears to fall from above inside a round space.
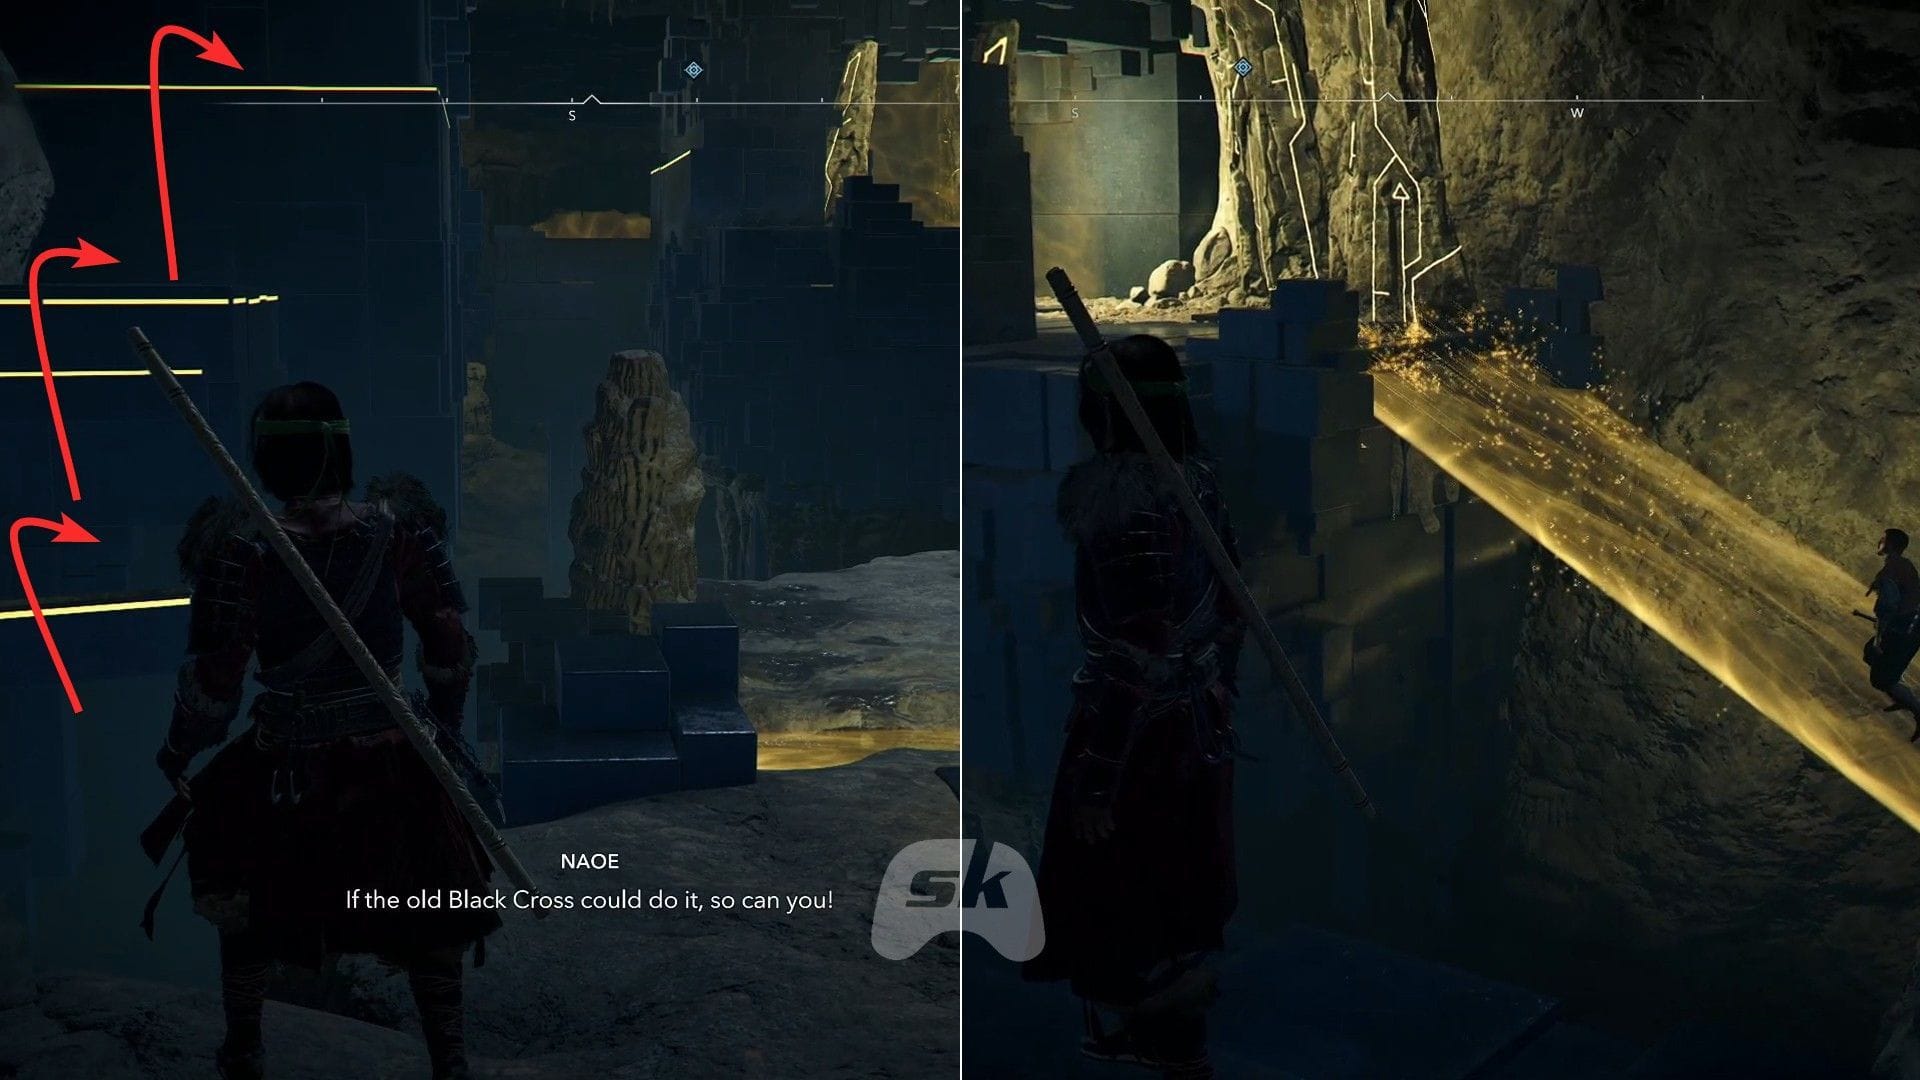
Climb the platforms on the appropriate aspect to achieve the higher part. Afterward, seize the glowing ledges and proceed upwards. Be sure to maintain onto the ledges which have covers forward, which is able to block Nirmala’s ranged assaults.

While you’re hanging on the very best ledge on the left aspect, soar to the other aspect’s ledge (press the soar button with none directional enter). Drop down and seize the ledge beneath (maintain circle/B/Left Ctrl and press the soar button whereas falling). Hold shifting ahead in direction of Nirmala’s location.

When she runs away, hold chasing her to discover a glowing bridge forward. As you attempt to cross it, it should disappear mid-way, and you’ll fall to the bottom. Keep away from the glowing tiles on the bottom and proceed upwards. After some time, you’ll find a floating glowing platform forward. Leap onto it, then fall to the bottom once more.
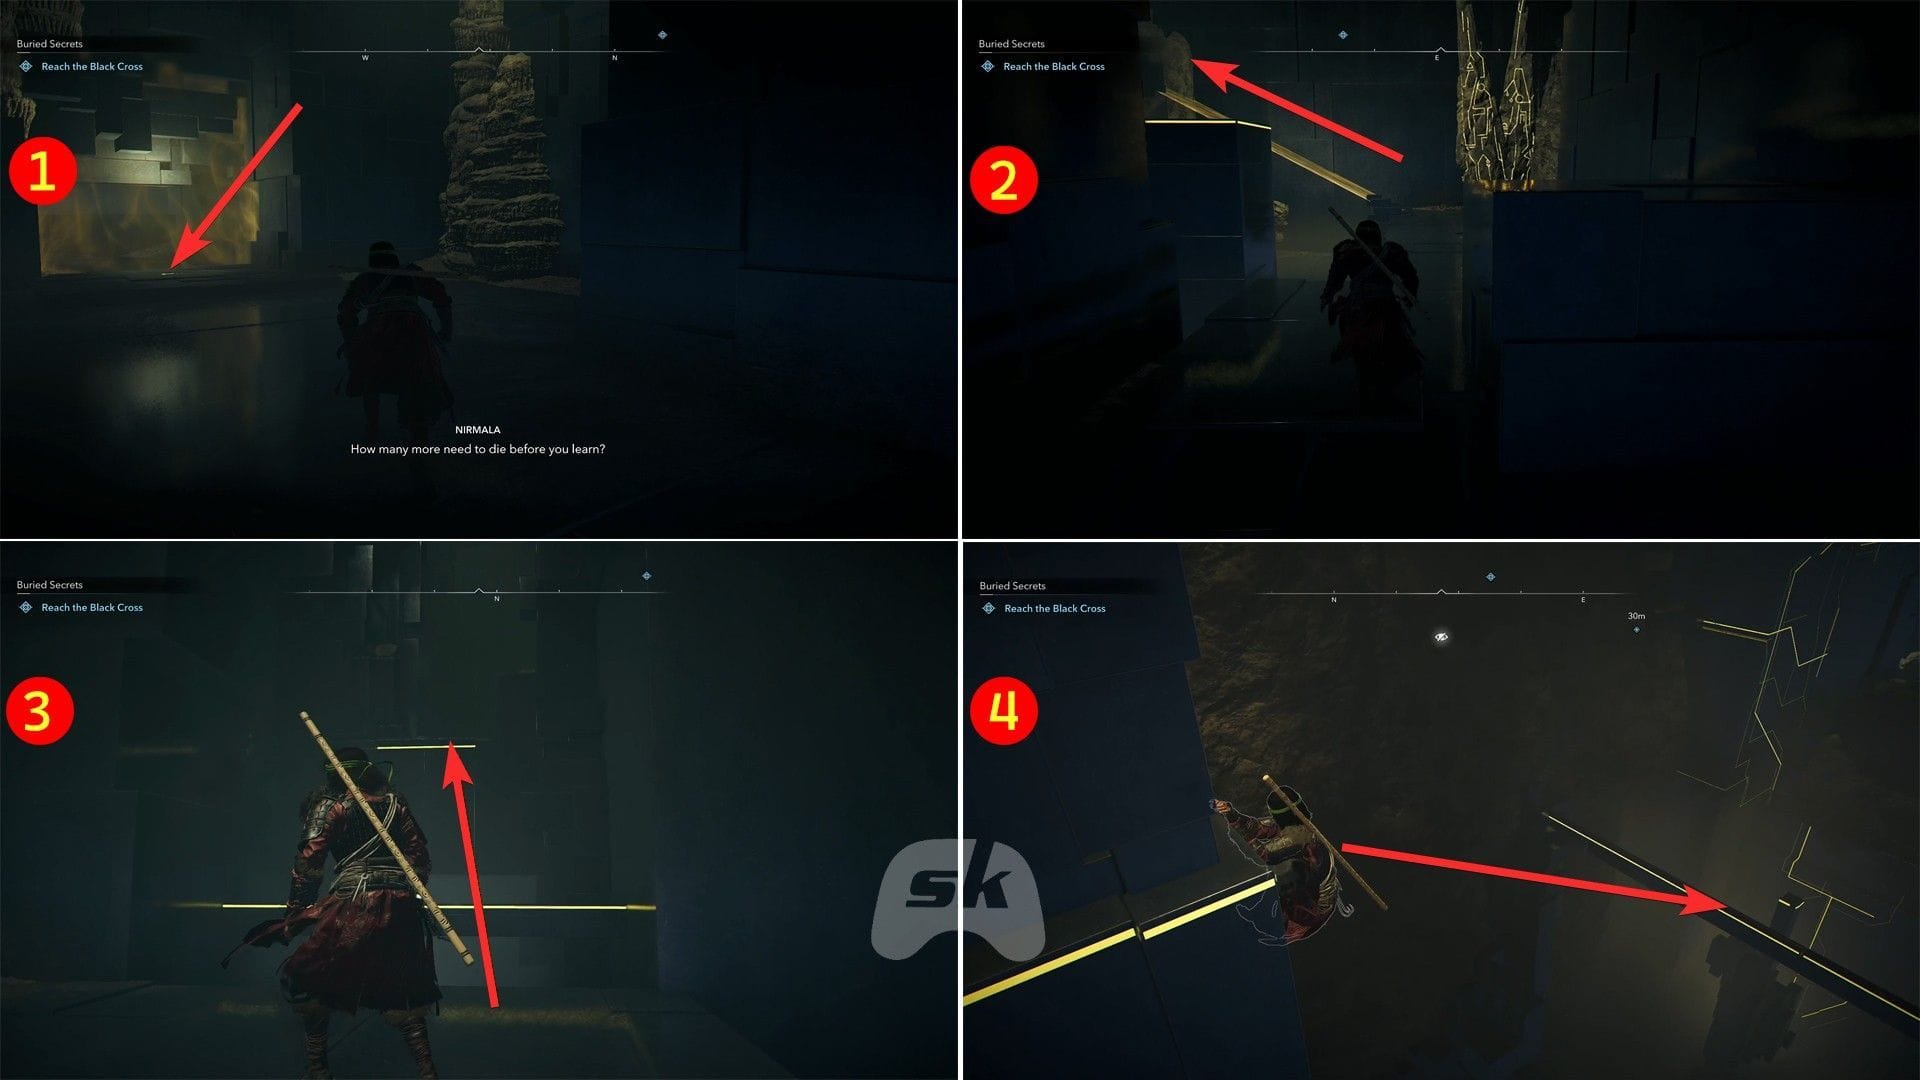
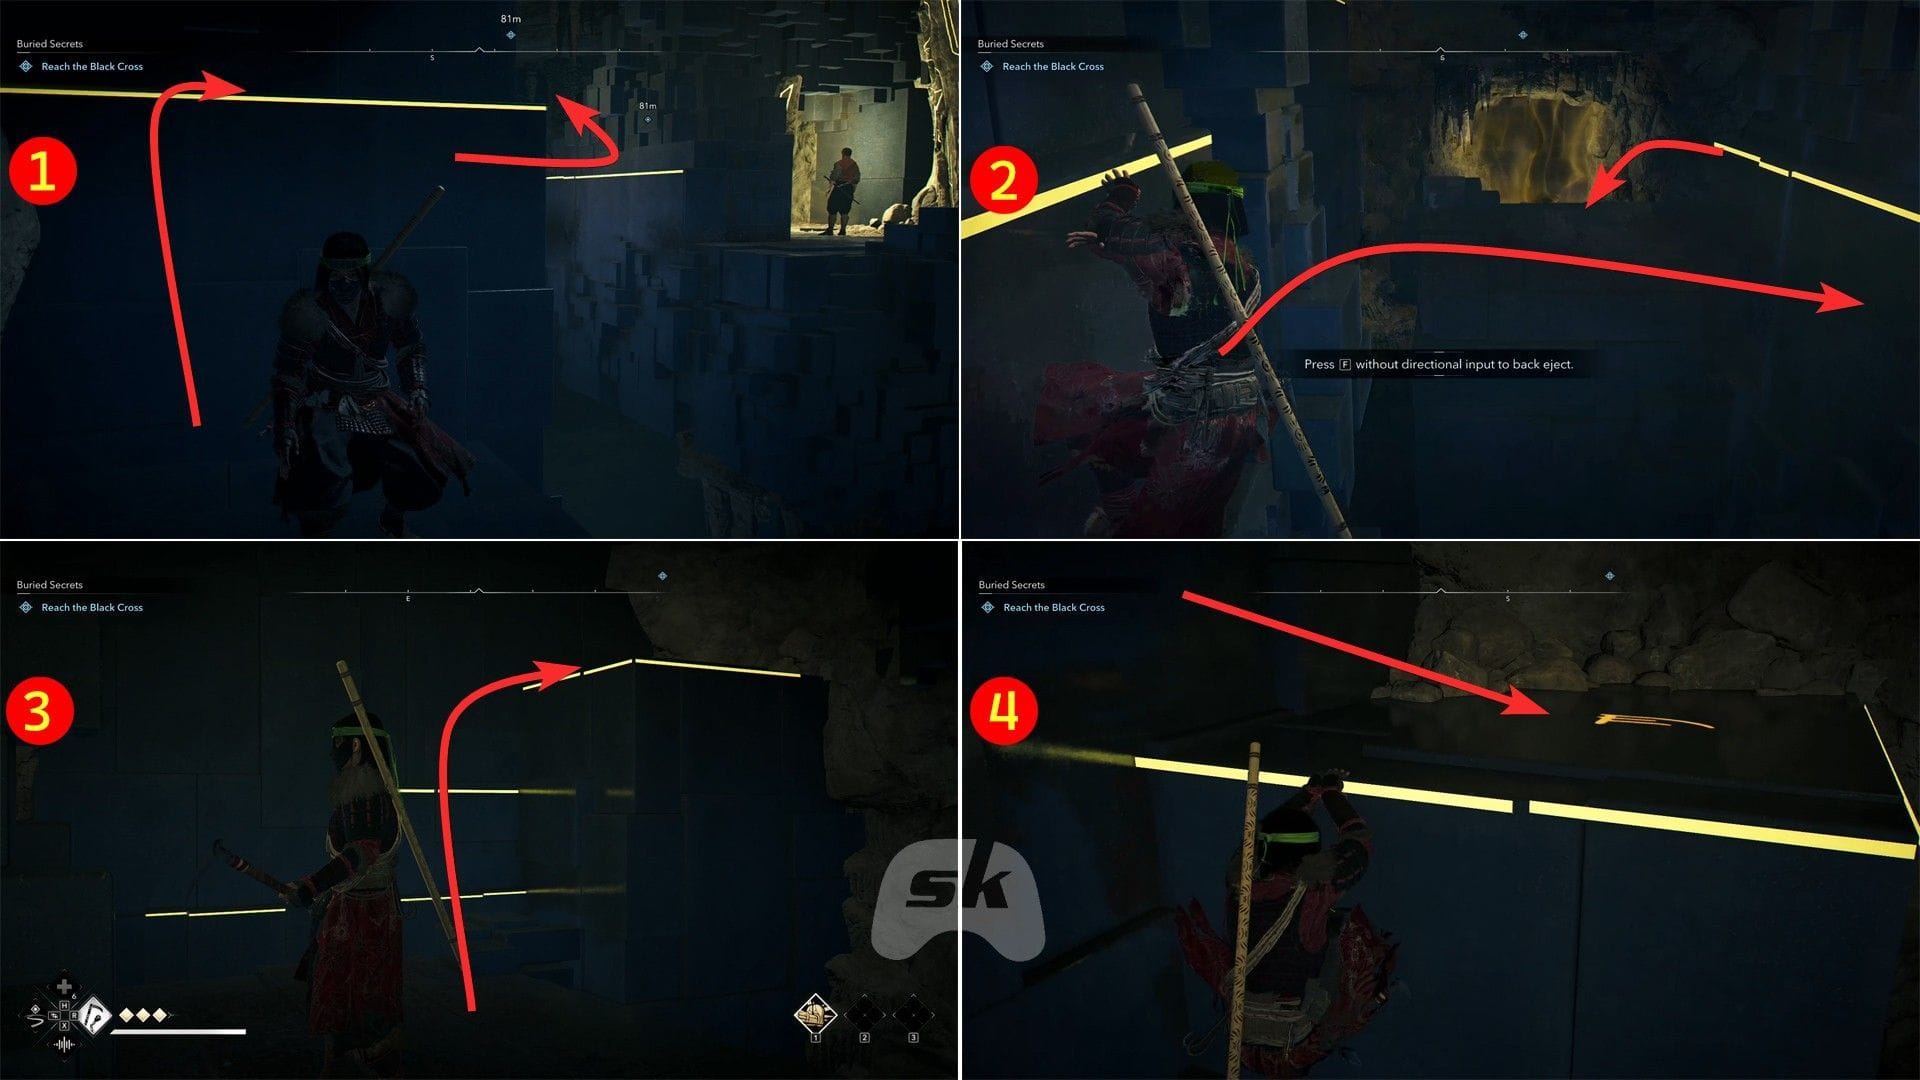
Subsequent, head west, step onto the glowing tile to unlock the pathway, and proceed upwards. After shifting to the top, proceed north by leaping throughout the gaps. Hold utilizing the glowing ledges to achieve the target marker. Earlier than going downwards, ensure to refill the Ration depend close by, as the subsequent section options tough boss fights. Slide down to begin the battle in opposition to Nirmala.
Additionally learn: Naoe weapon tier record in Murderer’s Creed Shadows
Kill the Black Cross
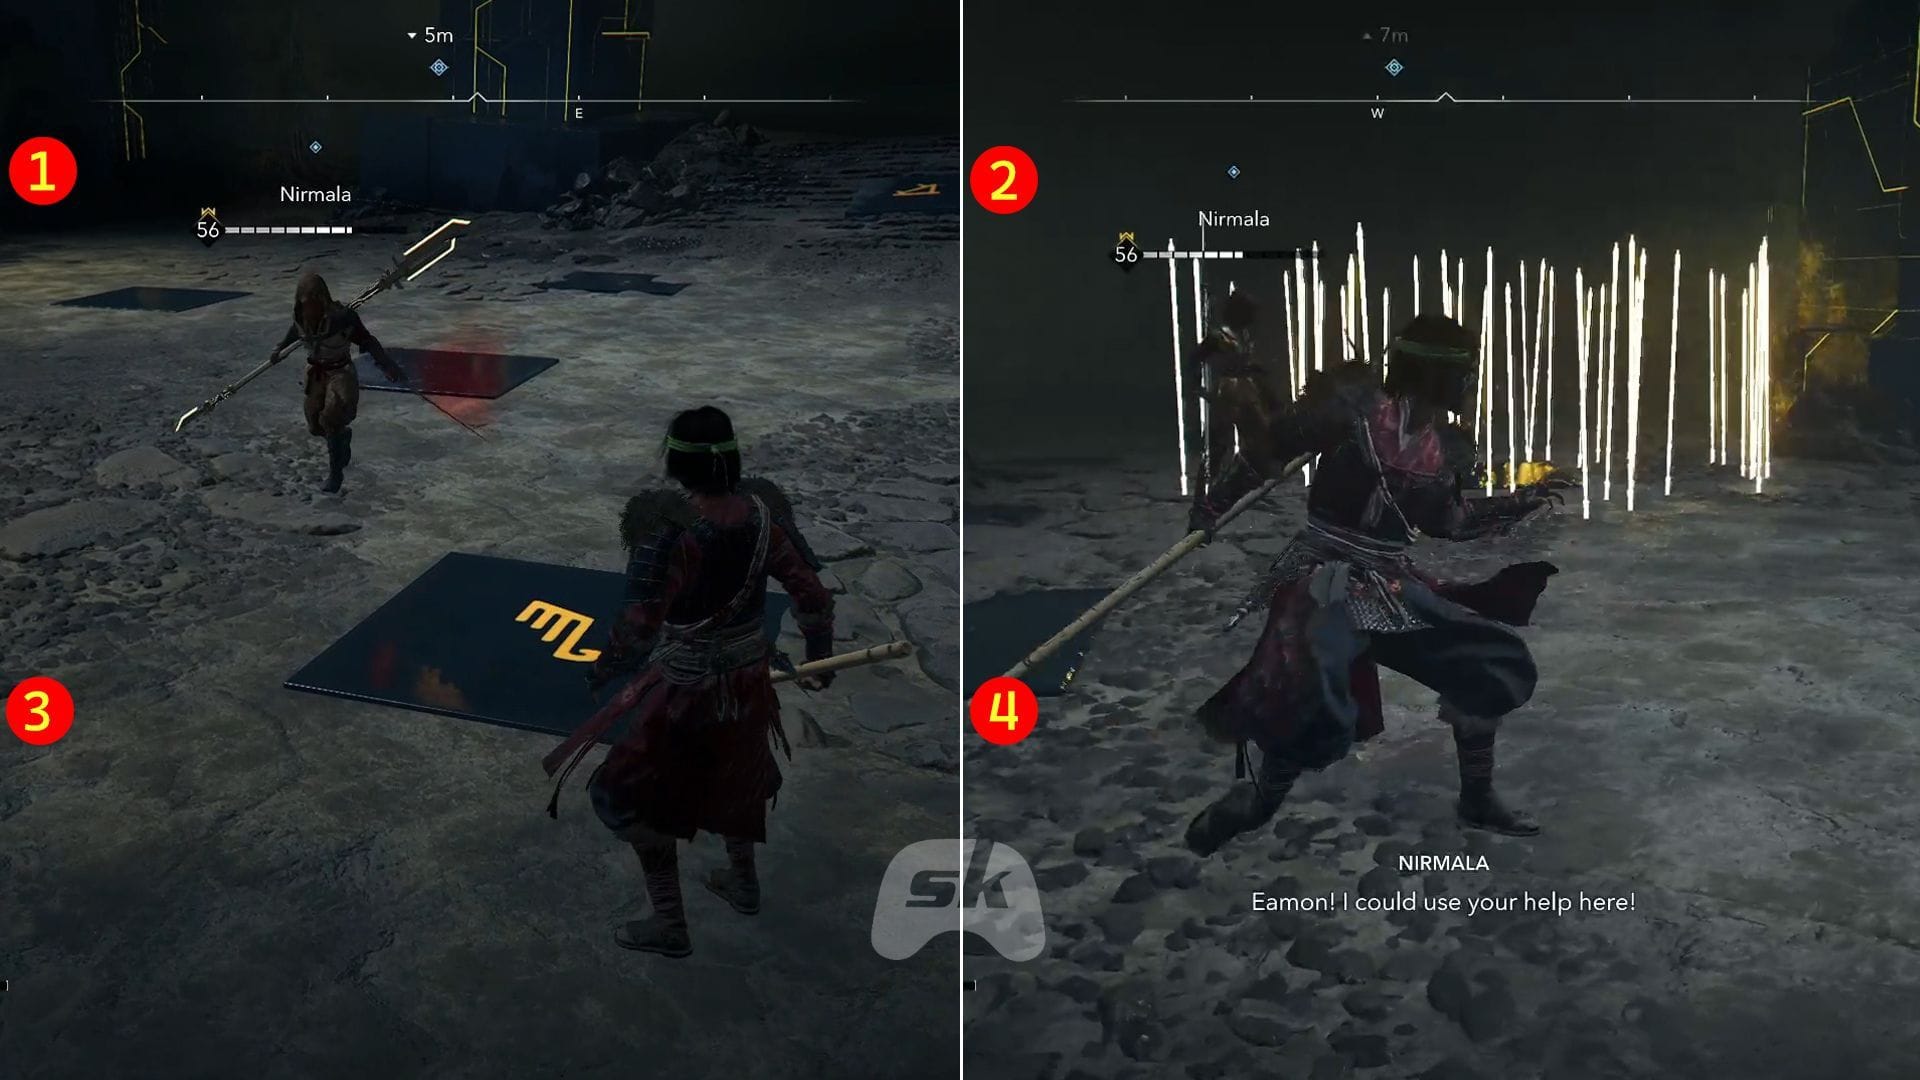
The boss combat in opposition to Nirmala can develop into simpler if you happen to make the most of the glowing tiles within the space. Merely run close to the tile and look ahead to her to return in direction of you. Rapidly step over the tile and run away, in order that falling spears deal injury to Nirmala. Because the tiles develop into usable after a brief cooldown, you need to use this tactic repeatedly to deplete her well being bar.
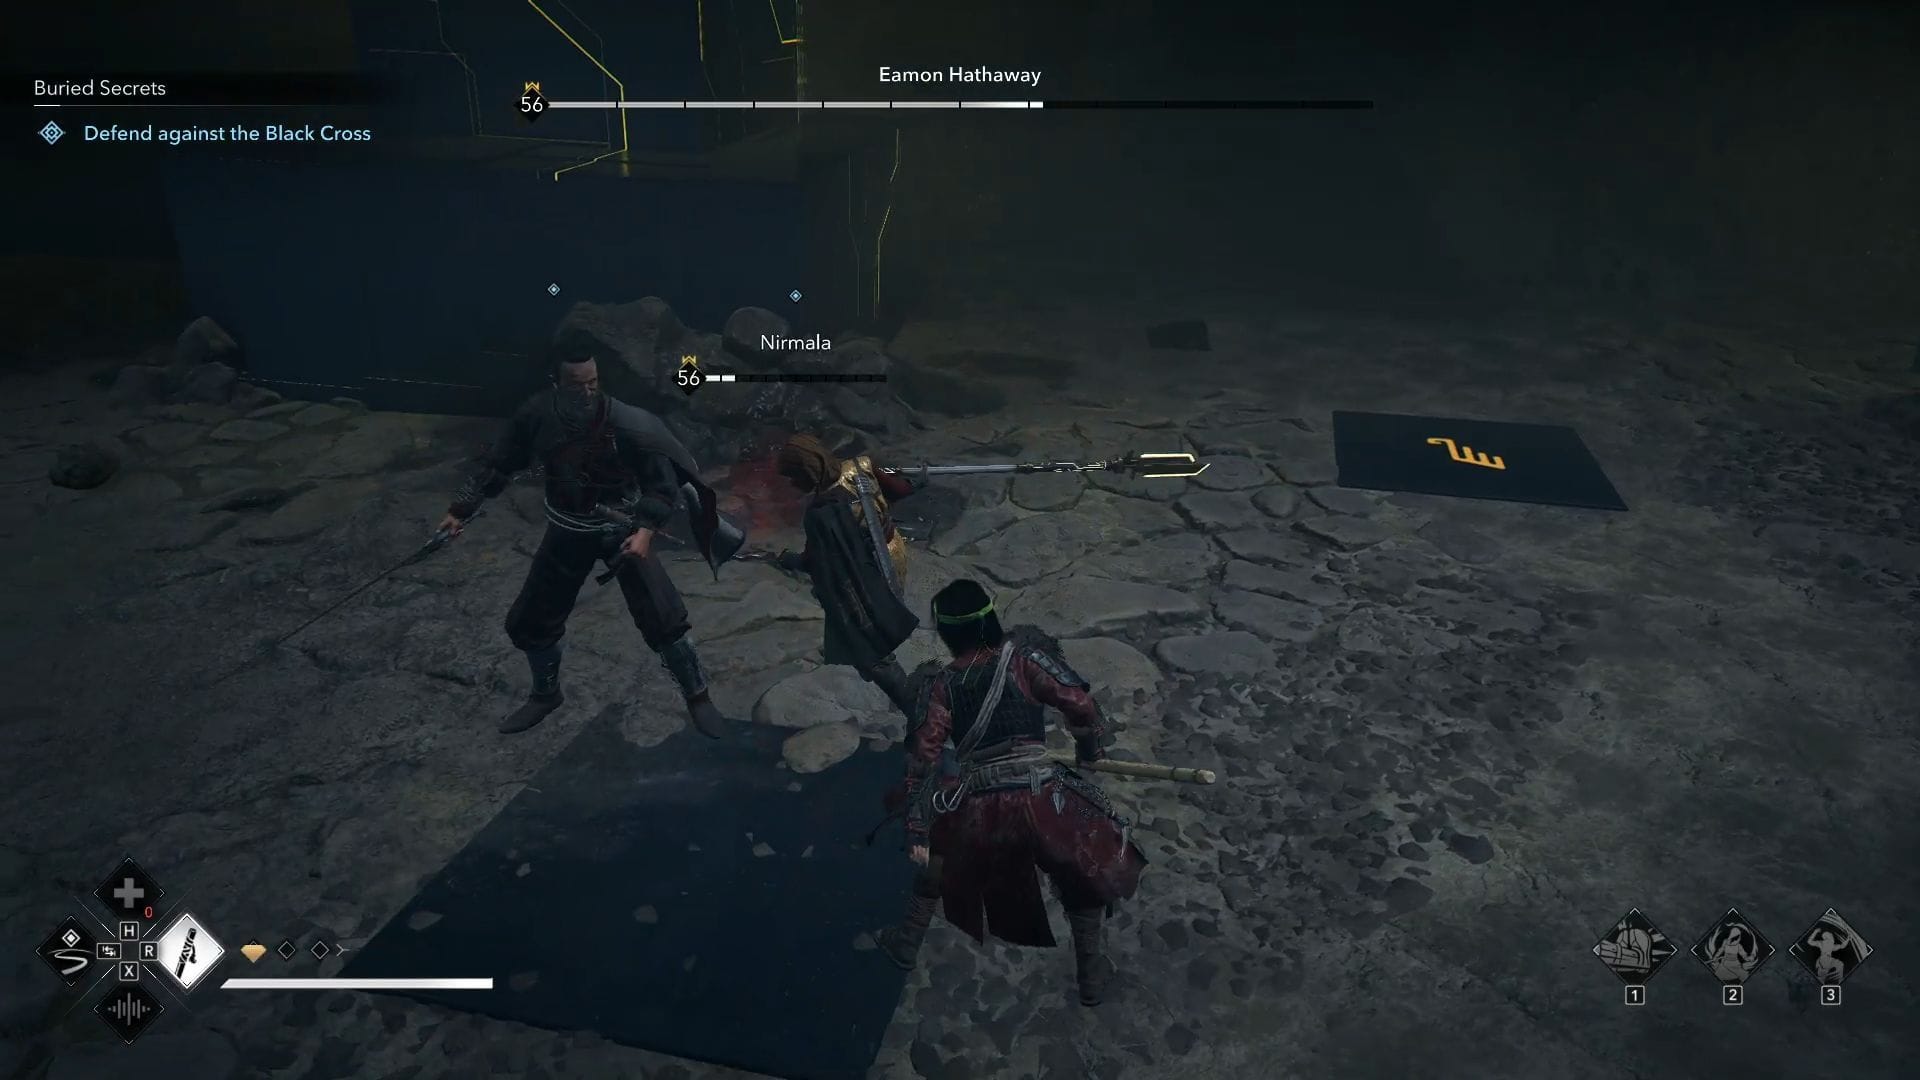
When Nirmala’s well being reaches round 40 p.c, Eamon joins the combat. You possibly can use the identical methodology to break them with the tiles. I largely centered on Nirmala throughout the combat and managed to deplete her well being bar to zero, which triggered a cutscene.
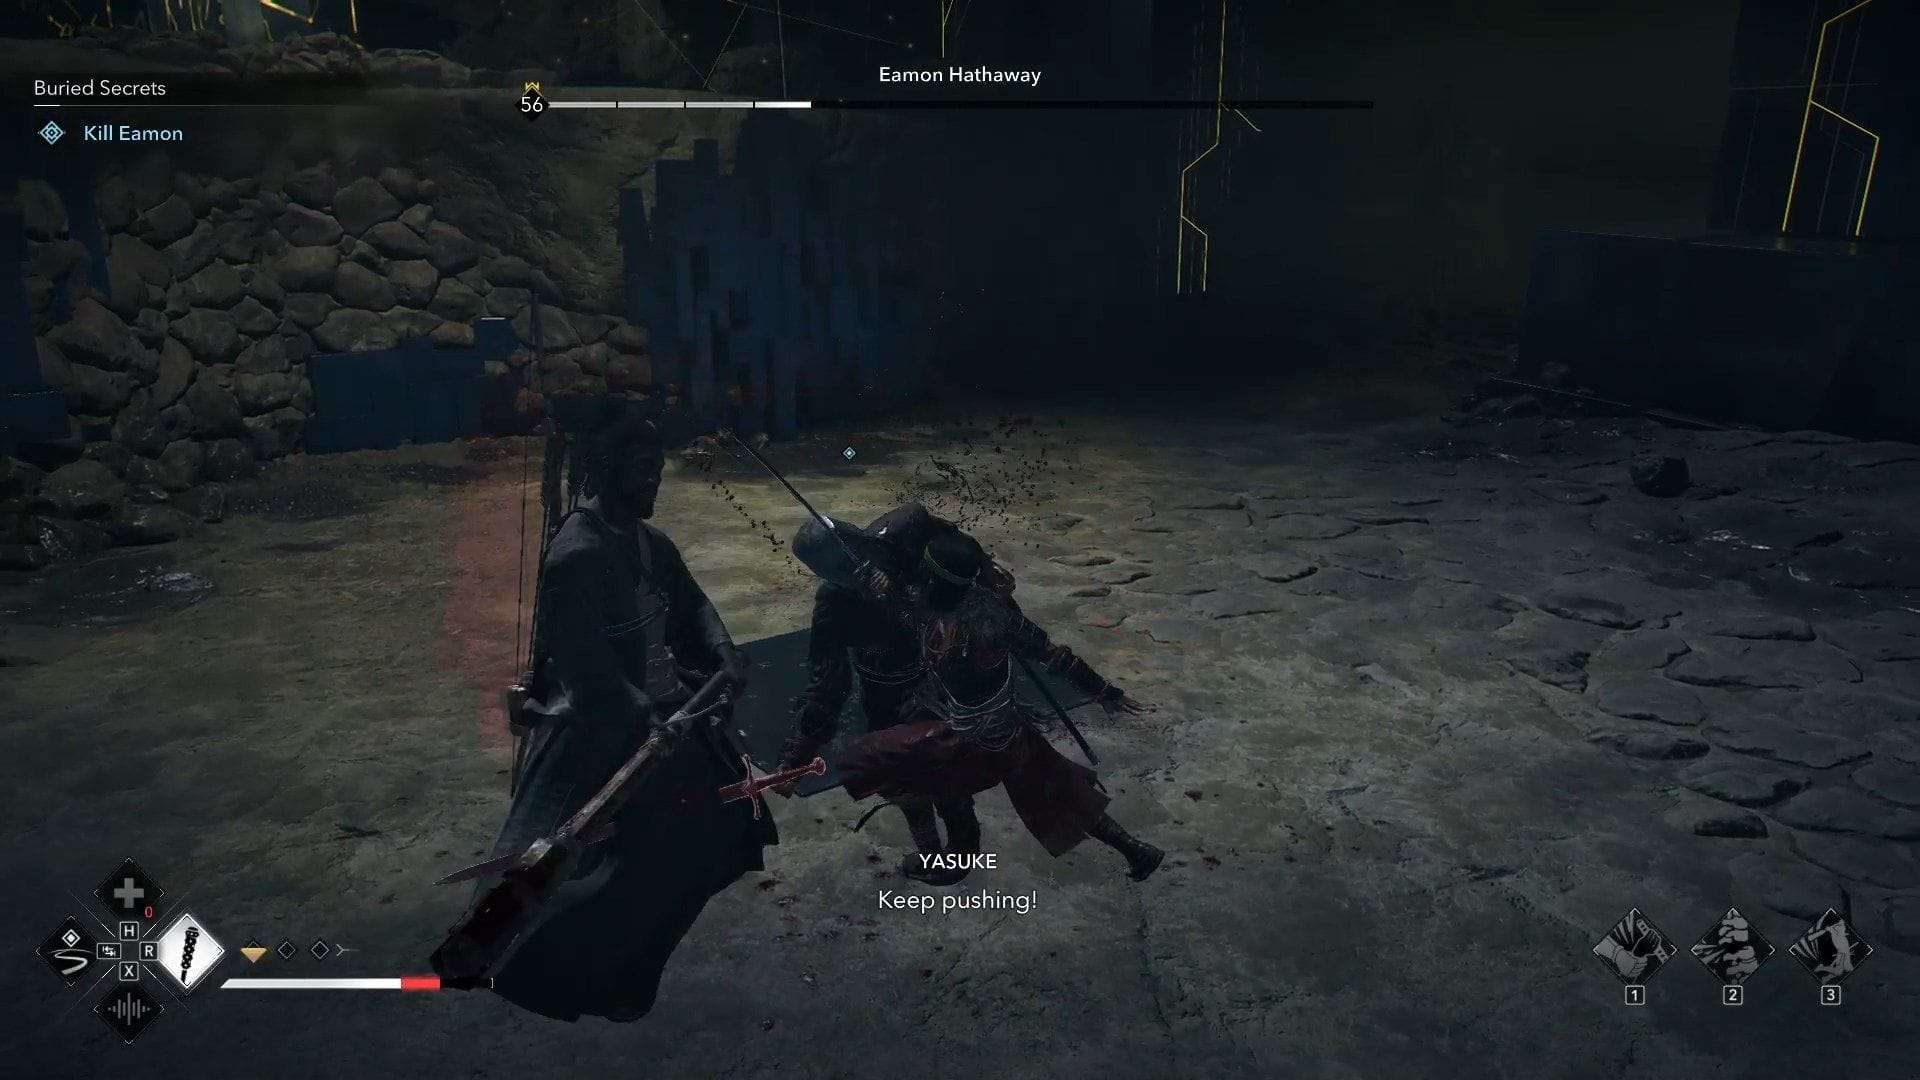
When it ends, Yasuke and Naoe battle in opposition to the ultimate type of Eamon Hathaway. The combat is sort of simple, and you may simply overwhelm the opponent with expertise and heavy assaults. The tiles are there as effectively.
When he is defeated, undergo the cutscenes to finish the Buried Secrets and techniques quest in Murderer’s Creed Shadows. It additionally marks the finish of the newly added storyline.
Apparently, on the finish of the final cutscene, one thing referred to as “MOD” tells you in regards to the newly unlocked end-game characteristic, Domains. Yow will discover it on the target board.
All rewards for finishing the Buried Secrets and techniques quest in Murderer’s Creed Shadows
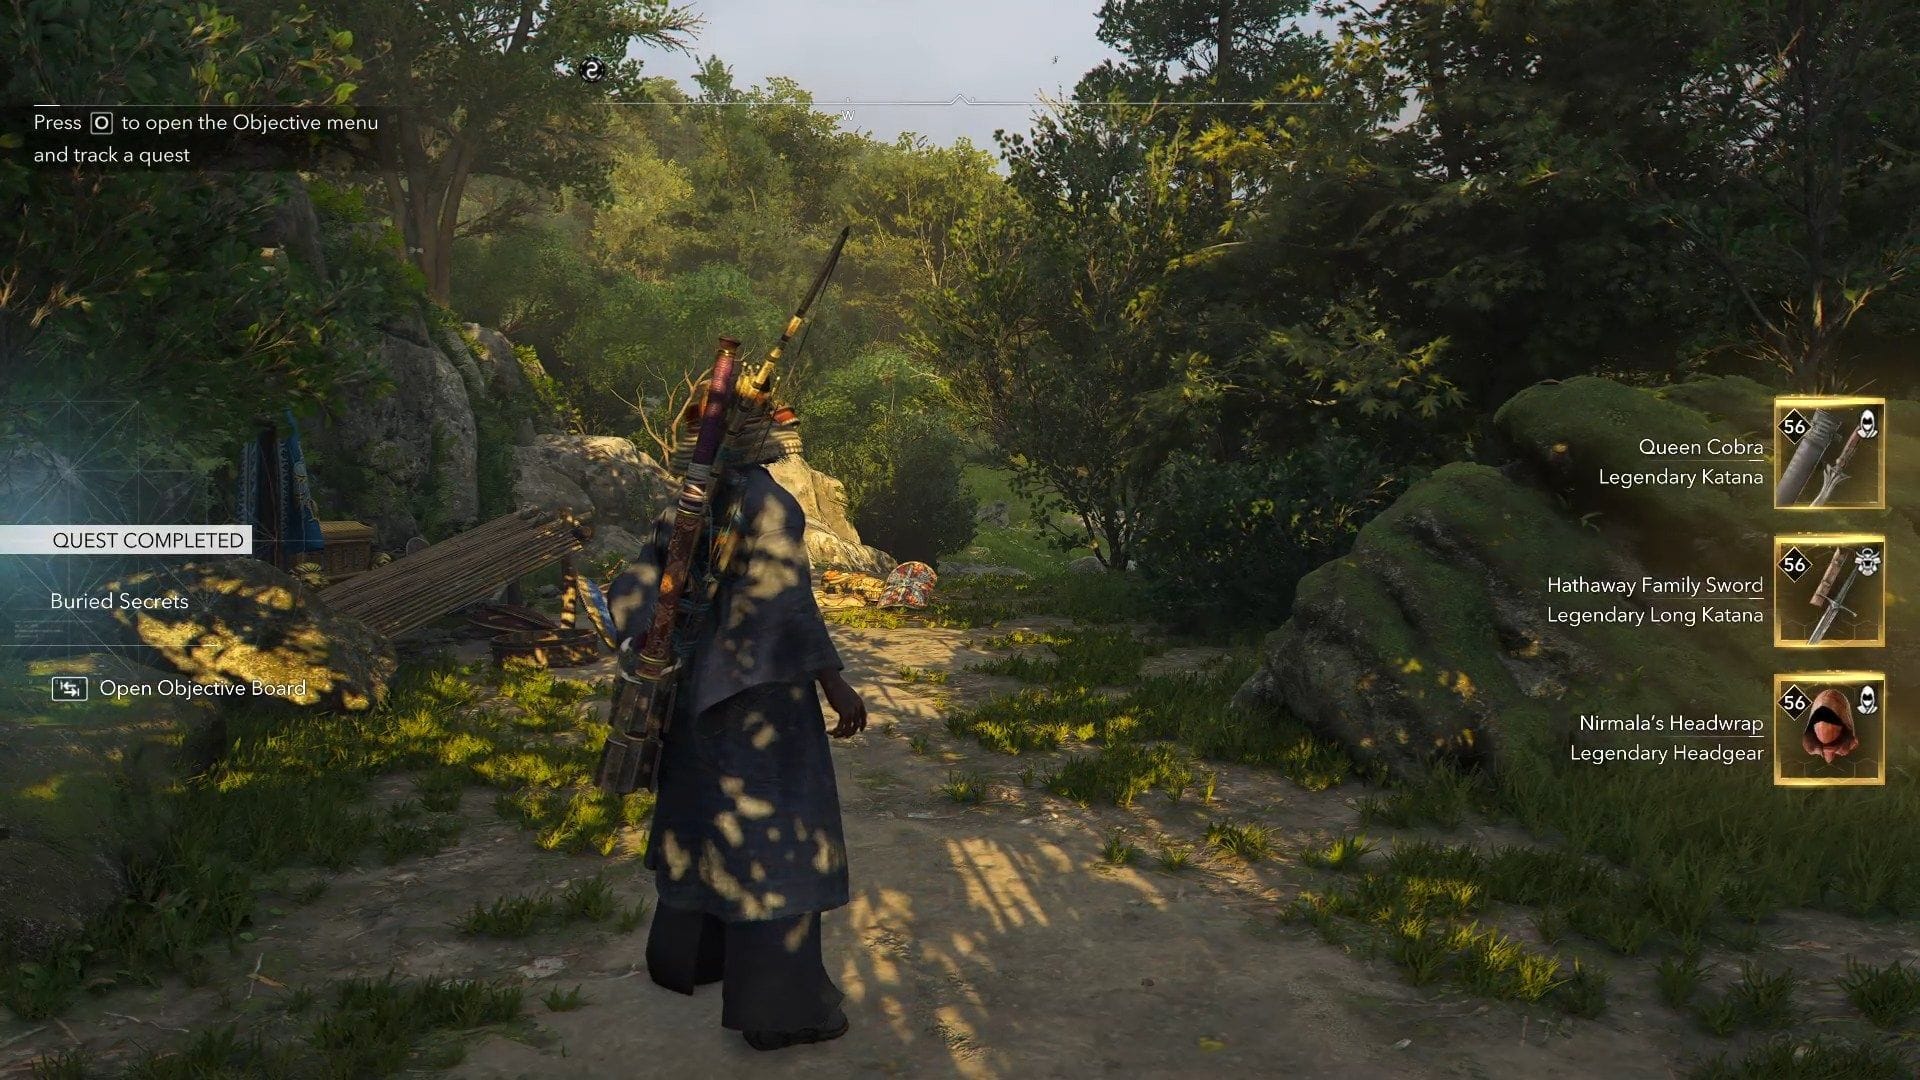
Listed here are the rewards you’re going to get after finishing the Buried Secrets and techniques quest in AC Shadows:
- Queen Cobra (Legendary Katana for Naoe)
- Hathaway Household Sword (Legendary Lengthy Katana for Yasuke)
- Nirmala’s Headgear (Legendary Headgear for Naoe)
- Nirmala’s Robes (Legendary Mild Armor for Naoe)
- Crusader Helm (Legendary Helmet for Yasuke)
- Crusader Tunic (Legendary Armor for Yasuke)
- Shattered Beacon (Legendary Amulet for Yasuke)
- Shattered Becaon (Legendary Amulet for Naoe)
- Isu-Cast Spear (Legendary Naginata for Yasuke)
- Isu-Cast Blade (Legendary Tanto for Naoe)
- Chain Bleed (Engraving)
- Heavy Swing (Engraving)
- What Armor? (Engraving)
- Brutal-er Assassination (Engraving)
- Daze Vulnerability (Engraving)
- Crimson Explosion (Engraving)
- Damaged Powers (Engraving)
- Power of Atlantis (Engraving)
- Knowledge of Atlantis (Engraving)
- Elephant Carving (Epic Trinket for Naoe)
- Bear Carvings (Epic Trinket for Naoe)
- Panther Carving (Epic Trinket for Naoe)
- Elephant Carving (Epic Trinket for Yasuke)
- Bear Carvings (Epic Trinket for Yasuke)
- Panther Carving (Epic Trinket for Yasuke)
- Statue of Kassandra (Outside Beauty)
- Blade of Yumminess Clue (Quest merchandise)
- Blade of Yumminess Scabbard (Quest merchandise)
- Beware, Seeker (Quest Iiem)
Additionally learn: How you can discover the Kassandra vault lacking elements in Murderer’s Creed Shadows
Take a look at extra Murderer’s Creed Shadows gameplay guides beneath:
Are you caught on at this time’s Wordle? Our Wordle Solver will provide help to discover the reply.
Edited by Debayan Saha


